From Rough to Refined: The Art of Sanding a Cutting Board
The Art of Finishing a Cutting Board: From Rough Cut to Silky Smooth
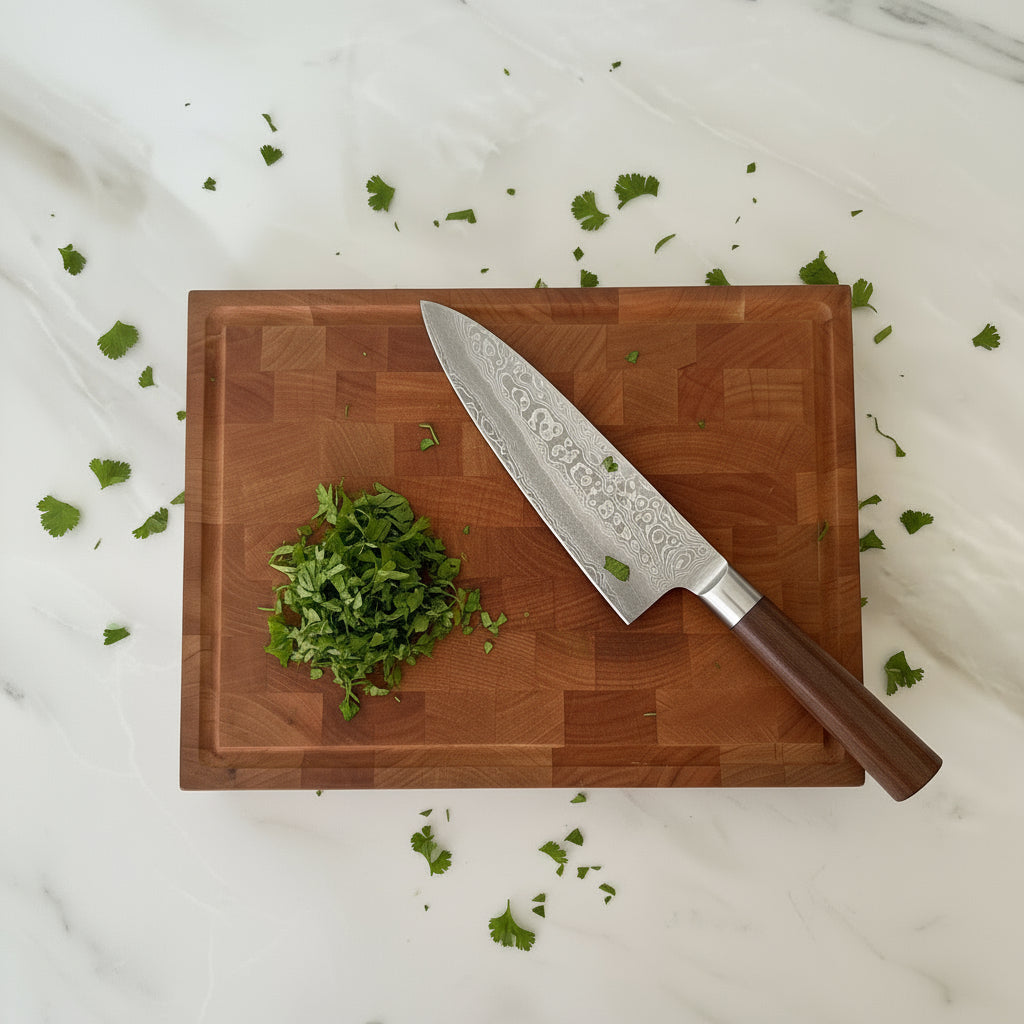
At Deer Park Woodwork, we believe a cutting board should be as beautiful as it is functional. While the wood itself provides the strength, it’s the finishing process that brings out its character — the grain, the warmth, and that irresistible smoothness you feel when you run your hand across the surface.
In this post, we’re taking you behind the scenes into one of our favourite parts of the process: finishing a cutting board to perfection.
1. Starting with the Right Sanding Grit
Every board begins with rough sanding. We typically start at 150 grit, which is coarse enough to remove any saw marks, glue lines, or uneven surfaces left after the board is glued and trimmed.
This first stage sets the foundation for everything that follows — you want to level the surface, smooth the edges, and ensure the board feels even to the touch.
2. Moving Up Through the Grits
From there, we gradually work our way through finer grits — 150 → 220 → 320 → 400 → 600.
Each step removes the scratches left by the previous grit, leaving the surface cleaner and silkier. It’s tempting to skip steps, but patience here makes all the difference.
By the time we reach 400 grit, the board is starting to take on that buttery smooth feel. At 600 grit, the wood fibers are polished to a satin finish — smooth enough that light seems to glide across it.
💡 Pro Tip: Always sand with the grain, not across it. This keeps the fibers aligned and avoids swirl marks that become visible once oil is applied.
3. Softening the Edges and Corners
We never overlook the edges. Using fine sandpaper, we round over the corners slightly for comfort and safety — no sharp edges, no rough spots. This not only feels better in the hand but also helps prevent splintering over time.
4. Raising the Grain (Optional but Worth It)
After the final dry sanding, we sometimes raise the grain — lightly dampening the board with a cloth, letting it dry, then sanding once more with 400–600 grit.
This extra step helps prevent the surface from feeling rough the first time it gets wet in your kitchen.
5. Applying the Finish
Once the sanding is complete, the board is ready for oiling. We use food-safe mineral oil followed by our handmade board butter (a mix of mineral oil and beeswax).
-
Apply the oil generously, let it soak in overnight.
-
The next day, buff off any excess and apply a thin coat of board butter.
-
Gently polish until the surface gleams and feels soft to the touch.
This combination not only protects the wood from moisture and bacteria but enhances its natural colour and depth.
6. The Final Feel
A properly finished board doesn’t just look good — it feels alive.
Run your hand over it, and you’ll notice the smoothness, the slight drag of the waxed surface, and the warmth of the wood beneath. That’s the hallmark of a truly well-crafted board.
Why This Process Matters
Finishing isn’t just the last step — it’s where craftsmanship shines. By taking the time to move through the grits and apply a careful finish, we ensure every Deer Park cutting board isn’t just kitchen-ready — it’s heirloom-worthy.
Want to Protect Your Own Cutting Board?
If you already own a board, our Board Butter is the same blend we use in the shop — made with pure beeswax and food-grade mineral oil. Use it monthly to keep your board hydrated, sealed, and glowing.
-> Shop Board Butter


